Blog
The Ultimate Guide to Field Reports
Architects and Consultants have to complete field reports at least once a month. This guide tells you what to look for on site and how to prepare your report!

Field reports are critical documents for construction projects. They are records of exactly what is happening on the site and when. These reports can be used to certify payments and are usually requested by the Authorities Having Jurisdiction. Some jurisdictions require a Commitment to General review form to be submitted as part of the Building Permit. This commitment ensures that the Architect and Engineers have completed regular reviews during construction and that the work is in conformance with the design documents that form the basis of the permit.
Most Contract administrators enjoy going to the field. It offsets the hours doing paperwork, and being on-site is likely the reason you chose the role of CA. Watching the contract drawings come to life is one of the most rewarding aspects of the job.

Tips & guidelines for field reporting
Maybe this is the first time you’re going to the field, or maybe you want to make sure you’re creating reviews in the best way possible. Here are some steps to help you:
Sign in at the site office. This is usually a requirement from the GC. If you want the superintendent or other staff to walk with you, now is the time to ask.
PPE. Make sure you go to the site prepared. Always double-check the safety policies and procedures of that specific site and the General Contractor.
Note the weather and time. This is the information you should reference at the beginning of your report.
Plan your route. This can make your site walk more efficient. Ie, start at the exterior, then the lower levels and work your way up. This can also be useful for future reports so you can easily compare progress from the last visit.
Take more pictures than you need. You never know when you will need to come back and check these photos from the office. It always seems to be the item you need to see is just out of shot.
Take notes as you go. Trying to remember all the observations and deficiencies you see is difficult. Writing notes or using dictation on your phone is a great idea. Talk-to-text is incredibly helpful when you’re outside in cold climates.
Tools you need. Having a measuring tape is always important, and can also be used to signify scale in pictures. A laser measurement tool is great for measuring ceiling heights and larger distances.
What should you be looking for when you’re in the field?
Are things on schedule? Has a specific building component/assembly not made progress for a while? Ask the GC about the delay and if the design team needs to do anything to facilitate progress.
Does the installation match the contract documents? Having a quick reference to the drawings is handy when you’re walking on-field. Of course, you can’t carry around an entire drawing set, and finding the exact details on your phone won’t be quick. Make notes of any details/items you need to check when you’re back in the office.
Are the finishes correct? Ensure the finishes that are currently installed align with the final material selected by the design team. This can include color, gauge, texture, etc. If any finishes are covered, ask the GC to remove a portion so you can confirm.
Is the quality of work acceptable? There are usually specific finish requirements noted in the specifications or drawings. There is also common sense and best practices in the industry. Are the tile joints misaligned, edges are raised, and you see cracked tiles already? These items show a lack of quality control and should be raised immediately. Use your knowledge and expertise to guide you.
Is anything damaged or unprotected? As materials are installed and built, it is important that they be protected along the way until the project is complete. For example, is the architecturally exposed concrete being treated with the care it deserves? Are people writing notes, dimensions, and elevations on it? The care that went into ensuring this beautiful finish will be ruined if it isn’t protected.
Do the dimensions look correct? Having a laser distance measuring tool in the field is incredibly helpful and helps you get accurate dimensions. This is especially important for ensuring all the mechanical and electrical finishes do not conflict with the finished ceiling heights.
Does the progress in the field match the payment application? If you are responsible for certifying monthly payment applications, take note of the progress (ie drywall, concrete, masonry, etc.). If the GC is progressing against materials stored on-field, be sure to check where they are stored and the quantity. It is important that the payment application accurately reflects the progress on site.
Are there any deficiencies? Noting the item's status is important to anyone reading the report. General Contractors and Subcontractors should review any deficiencies noted on the report as soon as they receive them so they can address them before work proceeds.
How to create your field report
Step 1 On the cover page, note general observations/status on site, weather, time of visit, and attendees. The cover page typically includes a standardized company disclaimer.
Step 2 Select the photos you want to include in your field report.
Step 3 Provide a description of the photos or the area you are referencing. This is the time when you could provide details about progress or items that require attention. Be sure to provide enough detail that others reading the report can understand.
Step 4 Marking an overall status of an item is helpful when referencing the report. Marking an item as Observation, Deficiency or another status will help others understand the report and any action needed.
Step 5 Double-check your report to ensure you captured everything. PDF your report as one combined file. Do not send editable files to the team. This report is a record of your visit, and should not have the ability to be altered by other parties.
Step 6 Distribute the report. Ensure that everyone who needs a copy of this report is on the distribution list. If you think you may have missed anyone, simply include the statement “Please forward to any relevant parties I may have missed’.
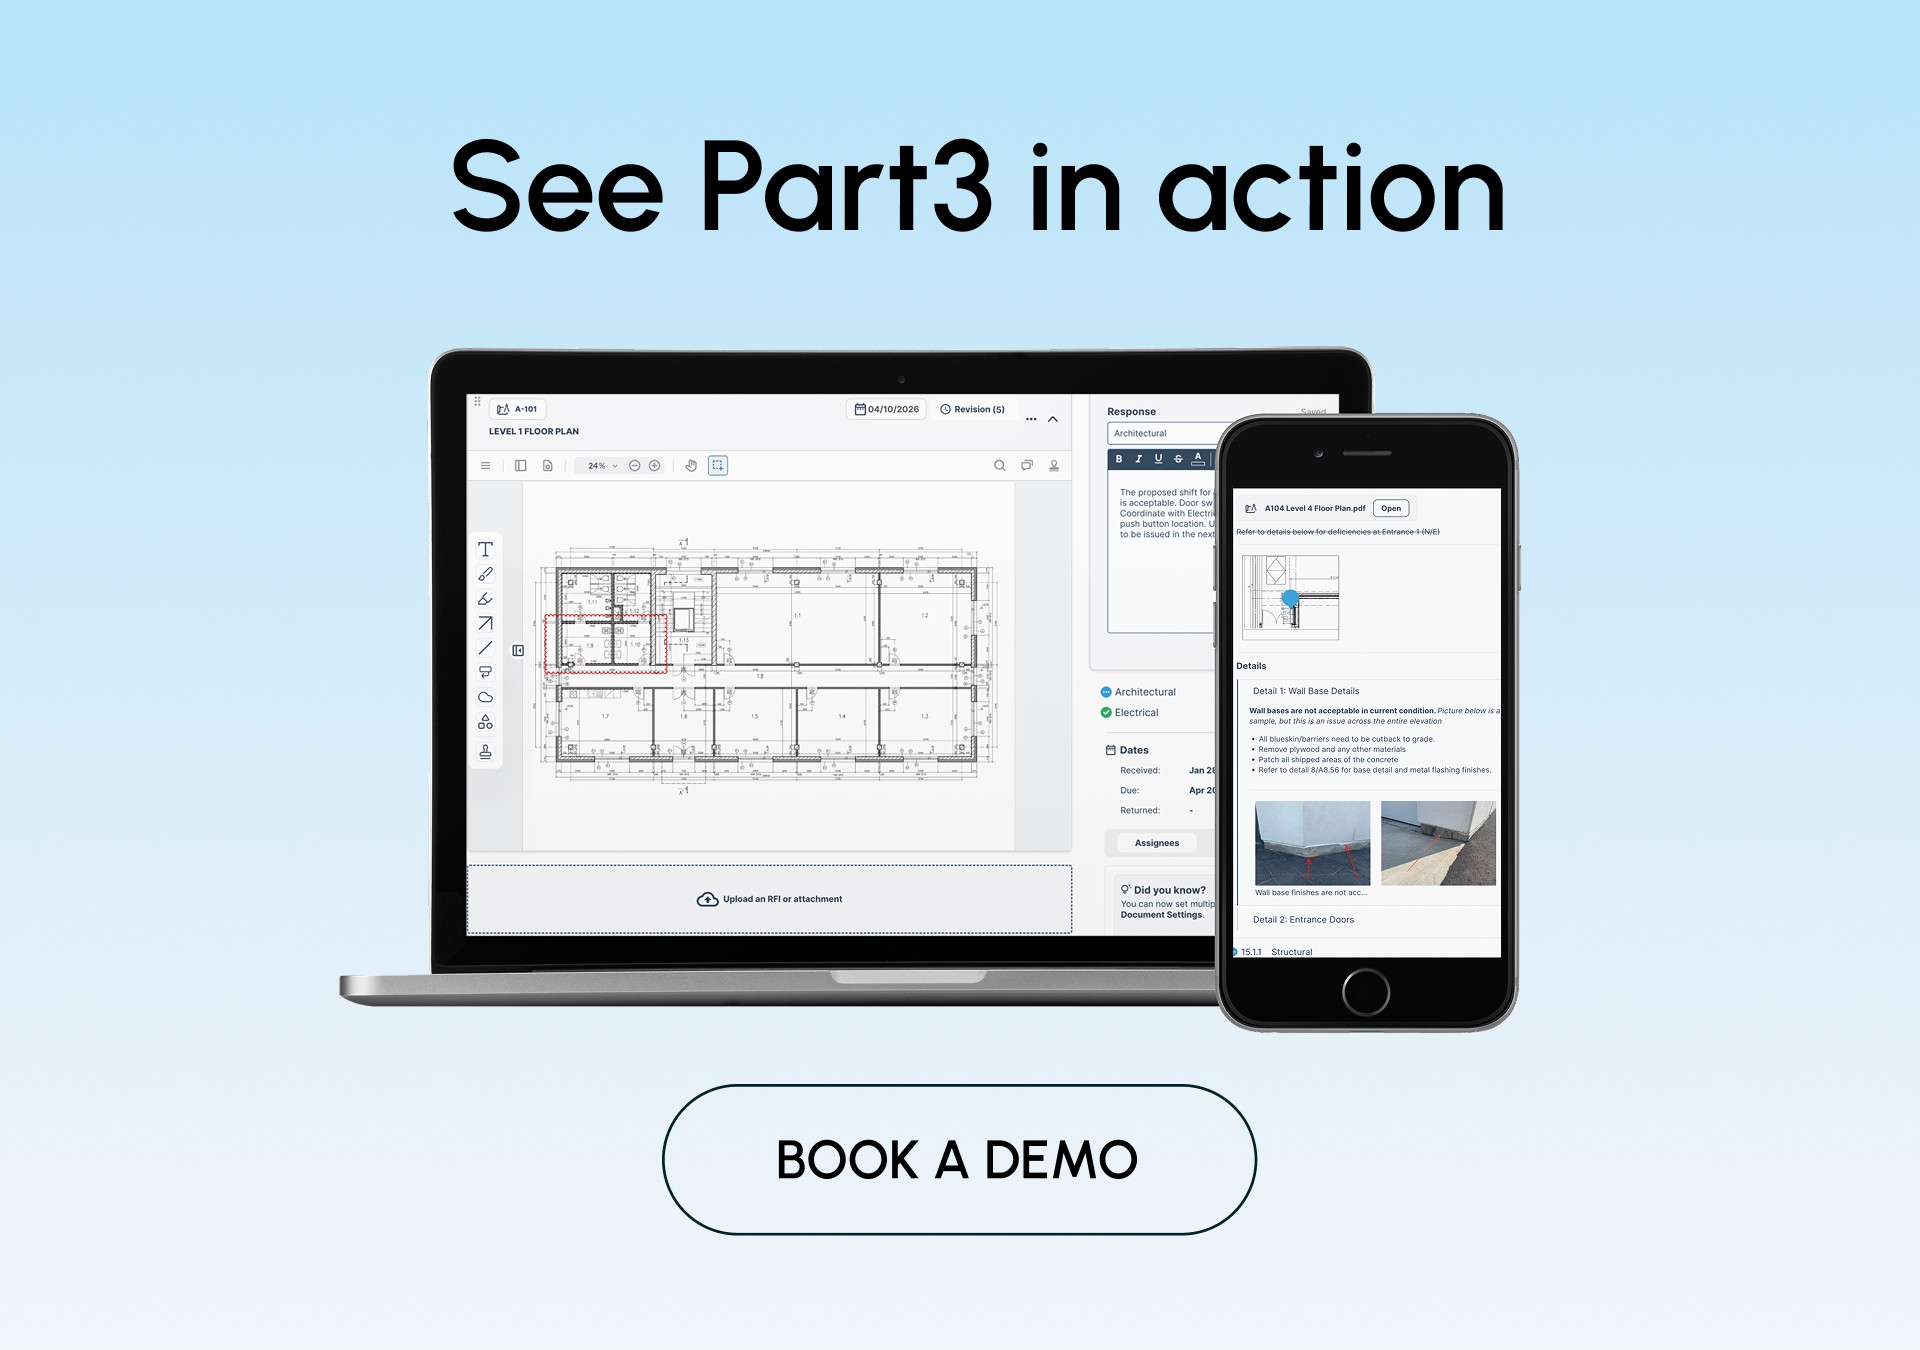
👀 Get a sneak peek into Part3's platform to see how we streamline field reports:
Field reporting software
Creating the field report document is not as fun as being on-field. This often involves downloading hundreds of pictures to your computer, figuring out which ones should be included in the report, and then creating the report.
There are 2 different ways people generally create field reports.
# 1 Use Microsoft Word (or similar) to create the report. This is usually painful because as the report is made and high-quality photos are inserted, the file becomes slow and often crashes. It also becomes a pain to format, as every image is inserted and a description added can alter the layout.
#2 Use an app. There are some field reporting tools out there that are specifically designed to help architects and consultants create and format their reports (like Part3). Explore different solutions and find one that will make your field review reports more efficient. Don’t get lost in the abundance of tools made for GCs, this likely won’t be the format you need or track the information that’s important to you.
Take a self-guides Part3 product tour or book a personalized demo to learn how Part3 can make field reporting easier - and maybe even enjoyable!


Blog